In this location, the user has the ability to update their name, password, login address, and manage other users who are hierarchically under their responsibility.
The types of users
In TVTools WebAccess, you will find 6 types of users.
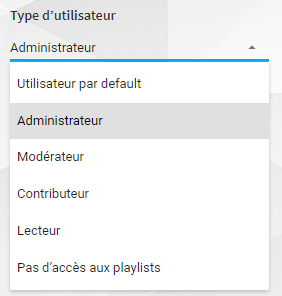
- Default User: This is the standard level upon account creation. The user will have standard access to playlists and assigned media levels. They will be able to publish, delete, and modify content.
- Administrator: As the name suggests, the administrator has the rights of the default user. Additionally, they have the ability to approve submissions by contributors and administer users at levels below theirs.
- Moderator: This user can create content and approve submissions by contributors but lacks the administrative powers over users.
- Reader: This user has read-only access to playlists.
- No Playlist Access: As the role implies, this user does not have access to playlists.
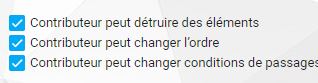
- Contributor: This user can generate content by submitting a publication request. However, the content needs approval from a moderator or administrator before appearing on the broadcasters. The contributor is associated with a checklist.
To set it up, you need to go to the ‘playlist’ tab and use the ‘user type’ field.

The Interface
At the top, you will find various tabs (detailed later).

Each represents boxes with different rights that you can enable or disable by checking/unchecking the image.
Remember to always save to confirm your action.

Create a new user
To simplify permission management and promote effective collaboration, TVTools WebAccess operates on a hierarchy of parent and child users.
If your account is an administrator, you can add new users (child or not). To do this, right-click on the company name:”
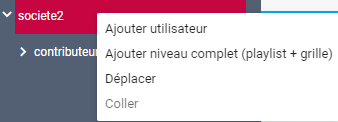
Add User: to create a user
Add Full Level (Playlist + Schedule): to create a user, as well as a schedule level and a playlist directly usable by them
Move: to move a user to the newly selected hierarchy
A window appears in which we enter the desired credentials.
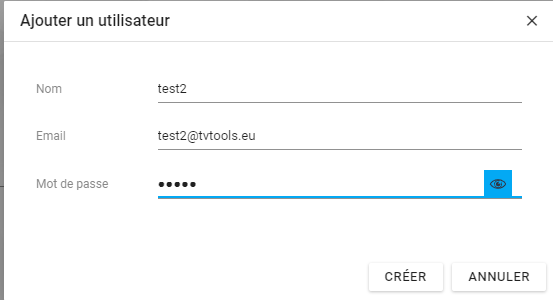
- The name is used for sorting in this interface.
- The email serves as the login during the connection.
- The password remains unchanged.
Note: The email must contain “@” but can be fictitious. Once validated, the user appears under yours.
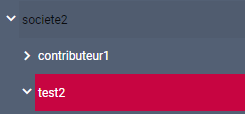
Once the validation is completed, the user appears under yours. You have the option to create a child user for them by following the same procedure as before but clicking on the second button.
You can right-click on the user and choose the option ‘Add Sub-User + Playlist Level.’
Administration
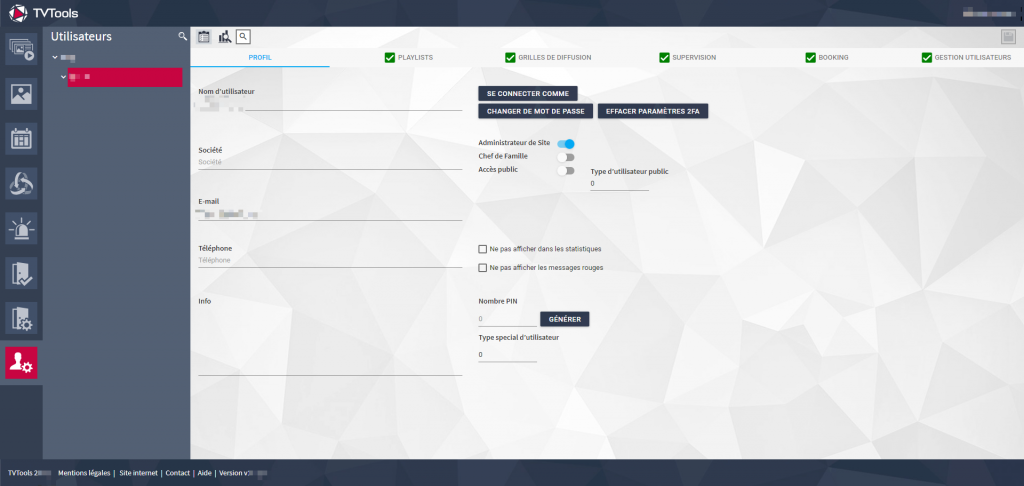
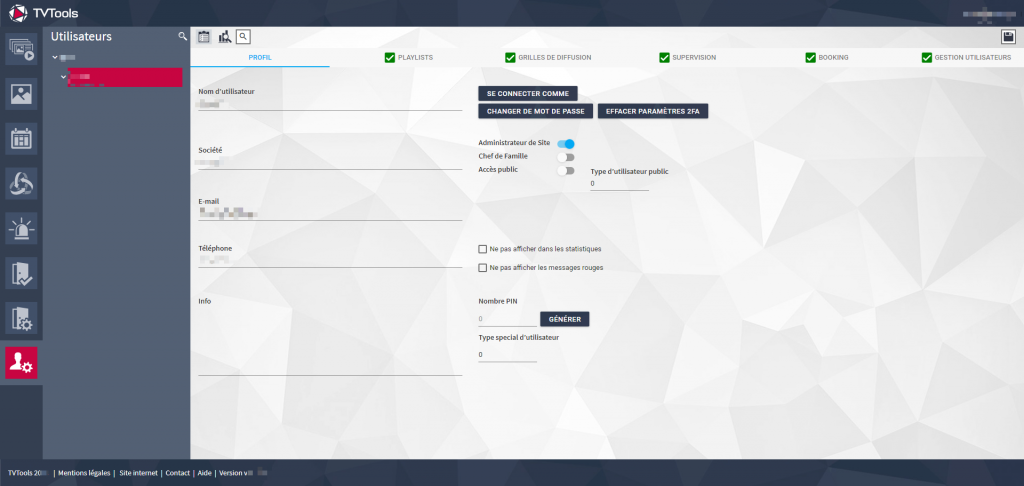
Tab: Profile
In this space, you will find standard information elements: username, company, email, phone, info…
For the action buttons:
- Log in as: specific technical element.
- Change Password
- Clear 2FA Settings: Allows clearing two-factor authentication.”
For the items to activate:
- Site Administrator: By checking this box, the associated account gains administrator privileges, allowing the creation of users, playlists, schedule levels, and other functionalities.
- Family Head: It is possible to create ‘family head’ accounts, allowing all sub-users to automatically inherit the same rights as the head.
- Public Access: Specific technical element.
For the items to check:
- Public User Type (0): Specific technical element.
- Do Not Display in Statistics: Allows not to display the specified account in general statistics.
- Do Not Show Red Messages: Hides errors when they occur (this option can significantly extend the time required for support in case of issues).”
For the last two items:
- PIN Number: Specific technical element.
- Special Type of User: Specific technical element.
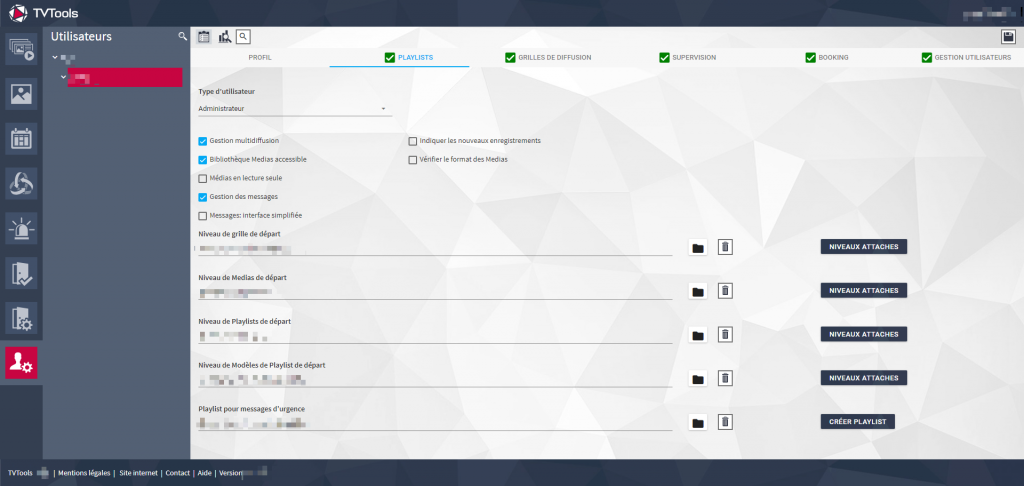
Tab : Playlist
Here you can determine the user type (as seen before: administrator, moderator, etc.).
Upon creating a user, this menu is pre-filled.
Icons at the top
At the top, you will find three icons:
 User Statistics. By selecting it, you will have access to a summary menu of account actions and child accounts for maximum traceability.

 Search, allows you to search for a user.
Checkboxes
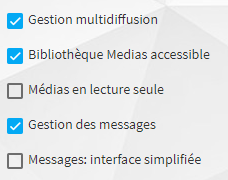
- Multicast Management: Allowed to manage multicast (the feature to publish/delete multiple playlists in one click).
- Accessible Media Library: Define whether the account has access to the media library or not.
- Media Read-only: Prevent media from being modified by this account.
- Message Management: Allow or disallow the account to manage urgent messages.
- Messages: Simplified Interface: Allow or disallow the account to access the simplified interface of urgent messages.
The checkbox for indicating new recordings signals new items added to a playlist for 48 hours.

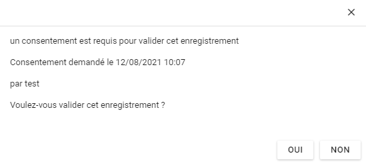
When an administrator or moderator logs in, they will notice this icon indicating that a publication request has been submitted. They just need to go to the relevant publication and click on the same icon as the one present during the request for online publication. A window then opens to allow validation or rejection (validation will put the item online).
If the previous option is not activated, the validation steps will remain the same, but there will simply be no general indication in the playlist.
Next items
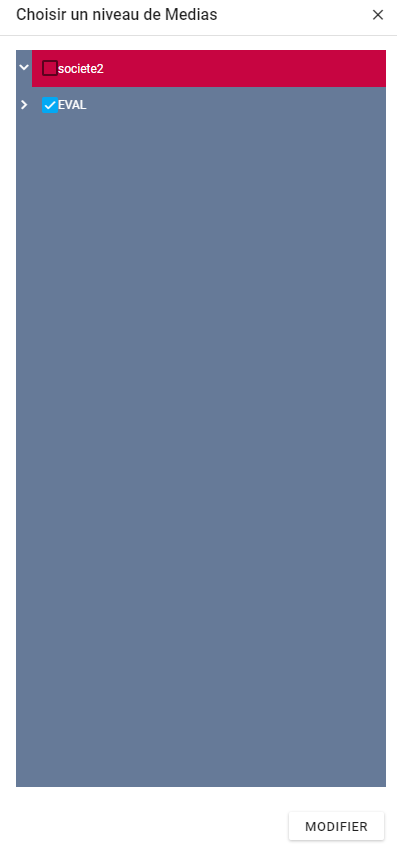
The items labeled ‘personal’ are personal elements of the account and can be modified by the account holder, while the ‘attached’ elements will be available in read-only mode for the account.
To modify a personal level, you must click on the ‘folder’ icon.
In the menu that opens, select an item and click ‘Edit.’
Tab: Broadcast Grids
In this tab, you can grant access rights to the broadcast grid tab.


Tab: Monitoring
In this tab, you can grant access rights to monitoring.


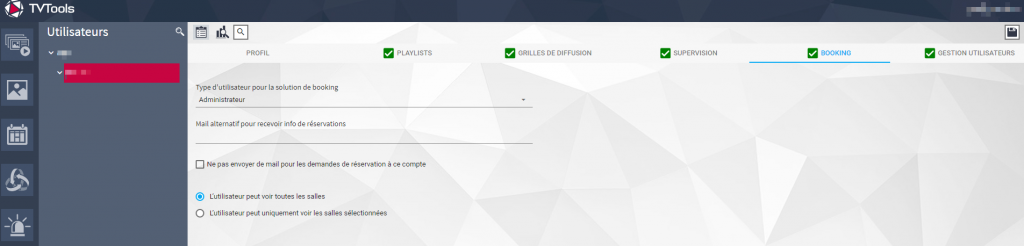
Tab : Booking
In this tab, you can grant rights related to your TVTools Roombooking room reservation system.

Tab: User Management
In this tab, you can grant rights related to user management.
Good to know: “Authorized LogAs Access” is related to GDPR, and “Authorized Access to User Management at the Same Level” allows administration of accounts at the same level.
