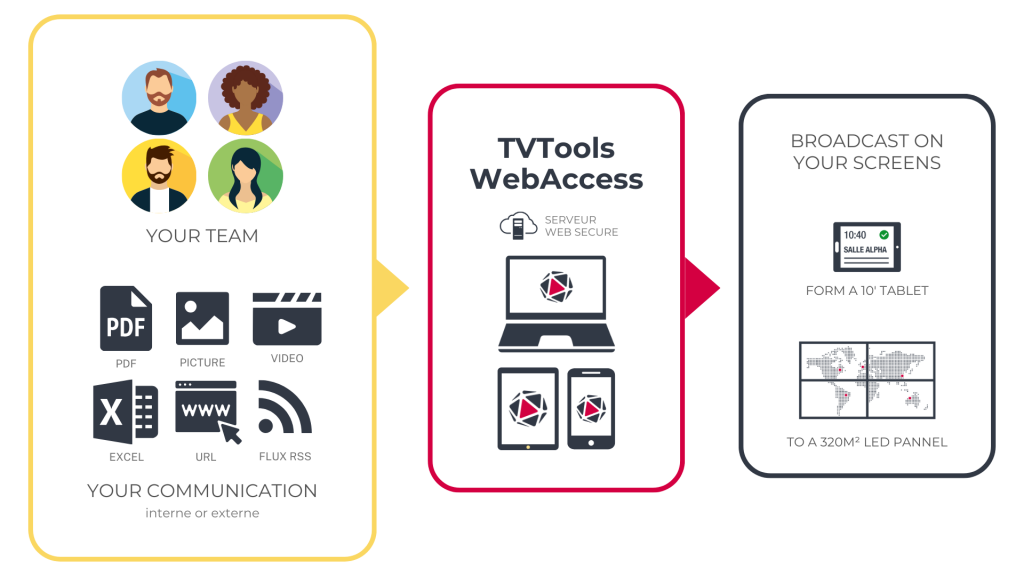
The principle of TVTools WebAccess is to enable quick and guided entry of information to be displayed on screens. This information can be of various types and presentation formats (images, videos, PDFs, etc.), originating both internally and externally (weather, RSS feeds, etc.).
Start
To quickly deploy a digital signage solution, you will need three essential things:
- An address for TVTools WebAccess (for example: prod6.tvtools.eu/webaccess)
- A TVTools WebAccess account (username and password)
- A broadcaster that is connected to both the server and a screen (on which the solution has been installed, and a license number has been provided).
Once you have all these elements, you will log in to your TVTools WebAccess interface using your user email and password.
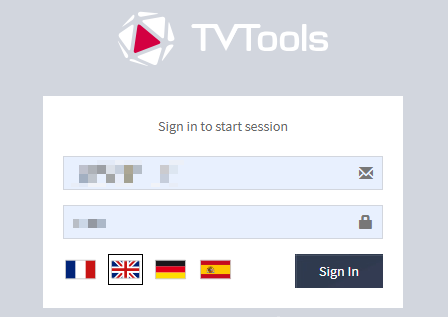
Connection to TVTools WebAccess
You have the option to use the TVTools WebAccess service from your computer or tablet. Access is also available from your smartphone through our TVTools app, although the screen size may limit some functionalities.
Generally, the address is composed as follows:

Example : https://prod7.tvtools.eu/webaccess
Please enter your login credentials to connect and access your home page on TVTools WebAccess.
For ‘ADFS,’ ‘GSUITE,’ and ‘OFFICE365’ type connections, configuration is required on your private servers upstream. Please contact your reseller for more information.

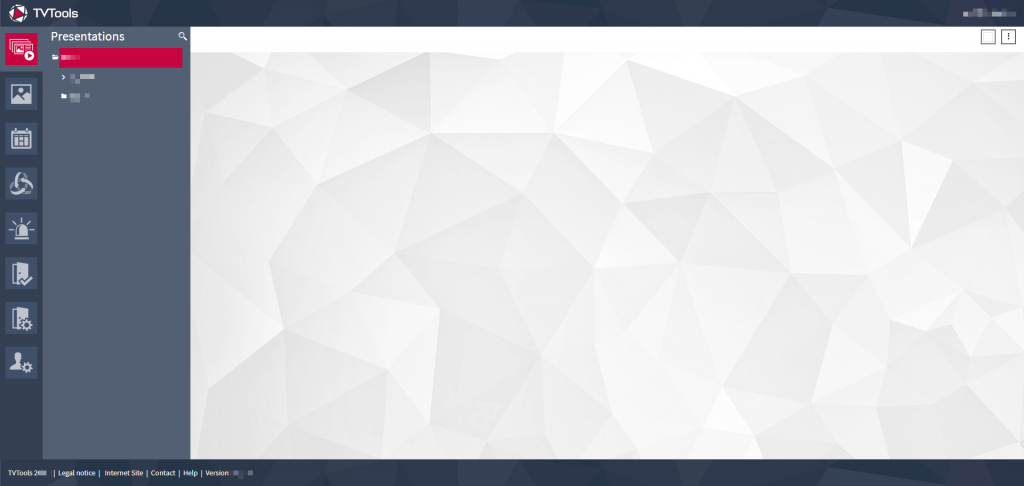
Description of the main interface
The tabs located on the left side of the screen provide access to the main features of the TVTools WebAccess software.

Playlist: Access to different broadcast sequences.

Media Library: Access to the personal or shared media library.

Edit Schedules: Create/modify/administer your grid levels.

Devices Control (or Supervision): Monitoring control for connected players and screens (for authorized personnel).

Alarms: Management of banners and emergency messages.


Roombooking: Also known as ‘Booking,’ as the name suggests, is used to semi-automatically reserve rooms, especially with the use of a touchscreen tablet.

Users: Information and administration of the connected user and their ‘sub-users.
This list is not exhaustive and may vary depending on your needs and account type, as TVTools WebAccess adapts accordingly.
The banner at the bottom allows you to obtain information about the solution and its publisher.

Playlists
What is a playlist?
A playlist is a sequence of communication events. An event can be an image, a video, a PDF, an animation, etc.
In TVTools WebAccess, these playlists allow you to arrange communication elements.
How does it work?
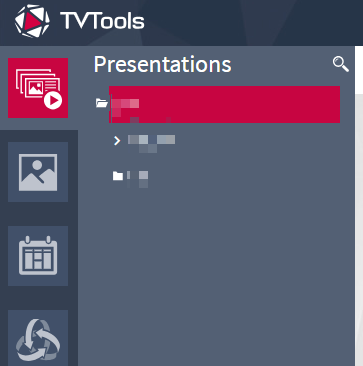
TVTools WebAccess displays playlists in the form of a tree structure.
- At the very top, you will find your name (or the name of your company).
- Below that, you will find all the playlists accessible to a user.”
Good to know :
- It is through this tree structure system that you can more easily filter the rights of your users based on the importance of playlists (national, local, by department, etc.).
- A playlist can be played on one or more screens.
- The media follows the established order of the playlist.
- To modify the content that is currently being broadcast in real-time, it is in this playlist space that you make the changes. The WebAccess software will automatically update (subject to being connected to the internet).
To access the content, simply click on the name of the playlist. Its content will be displayed in the central space.
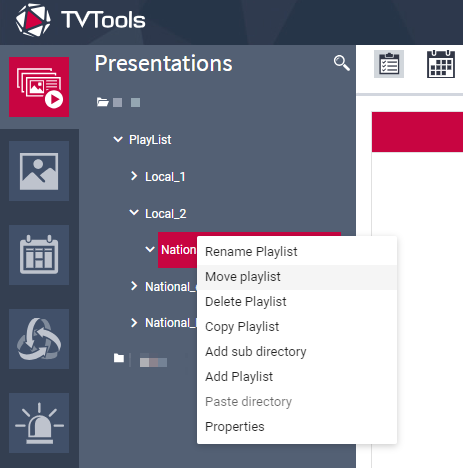
To access the arrangement of playlists, right-click on a folder or playlist in the left menu:
Double security for broadcasting and deletion.
To ensure a maximum level of security, playlists use a two-step validation system, both for adding media and for deletion.
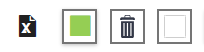
- By checking the box
- By confirming with the floppy disk icon

If the checkbox is blue, the media is set for broadcast; if it’s empty, the media is blocked from broadcast.
The central interface of the playlists
The top menu and banner
In the central space of the playlist, you will find the following interface.
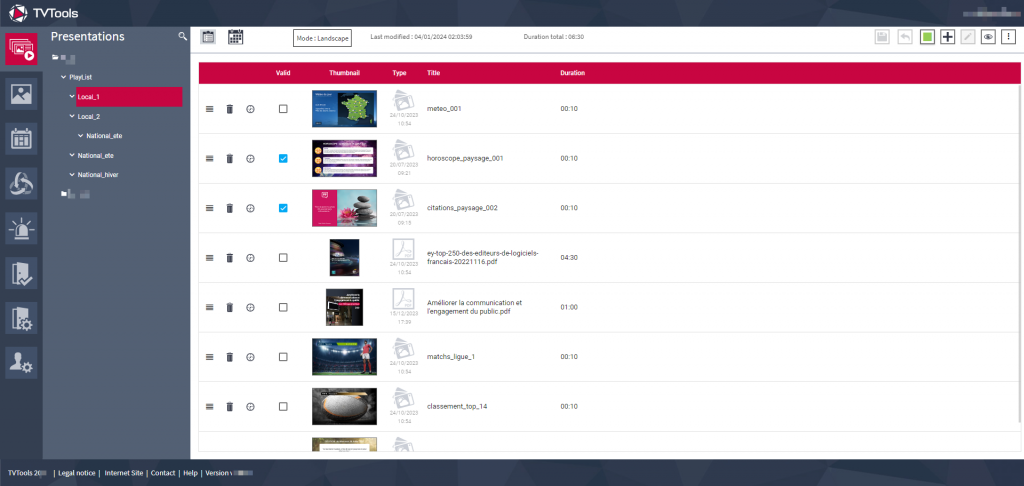
At the top, you have the following banner:


These options allow you to display the content of your playlist either as a list or in the form of a calendar (like a Gantt chart).
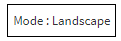
This element indicates in which resolution the playlist is displayed (it is not clickable but purely informational).

Information about the characteristics of your playlist.

An action banner.
| Save changes. If this icon becomes clickable and you do not click, your changes will not be saved or applied | |
| Undo the last change. | |
| Filter records: Show only active records, inactive records, or all. | |
| Add a new item to the playlist. A window opens, offering several possible choices. (Details to follow) | |
| Edit the selected item (opens the editing menu if it’s a template or the folder corresponding to the media). Good to know: by clicking on the thumbnail of your media, you can also find these editing elements. | |
| Preview the playlist. Note: The preview never perfectly matches the final output, especially concerning transitions, due to differences in environment between your software and your players (one being web-based and the other being Android/Windows-based). | |
| Submenu (details to follow). Here, you will find settings, the option to delete all items, or view your templates. (Details to follow) |
The media action buttons
For each media in the playlist, you will then find the following elements:

| To move a media in order to change the playback order (works by drag-and-drop, also known as click and drop).” | |
| Delete the row (removes the item from broadcast, not the media/template from your folders). | |
| Broadcast time constraint (details to follow). | |
| (Checked) Allow broadcasting of the media in this row / (Unchecked) Cancel the row. |
For each row, corresponding to each media, you can also right-click on the row to open this submenu:
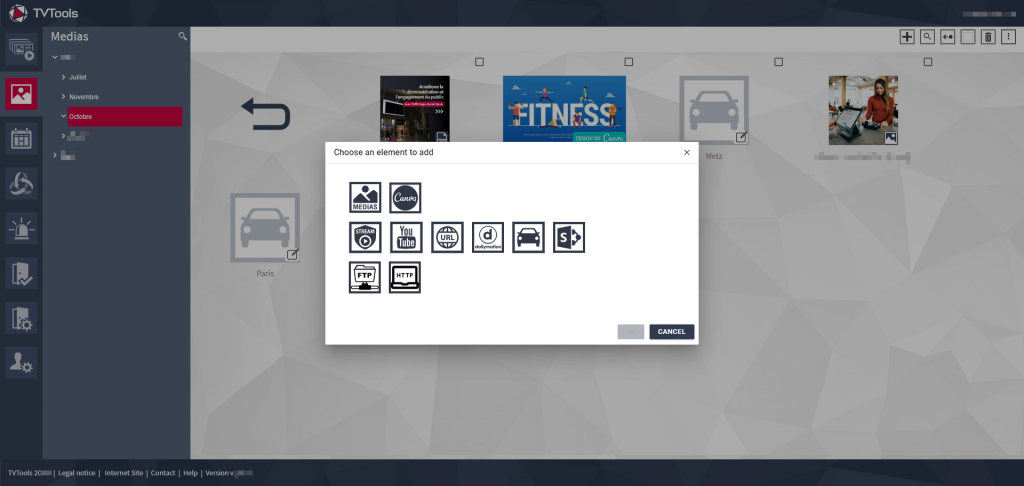
Add an item to the playlist
By clicking on the + in the banner of the central interface of the playlist, a new window opens. Several choices are available to you:
On the left, you will find the following icons:
- Templates
- Media Library
- Widget and Flux RSS
- Databases
- Designs
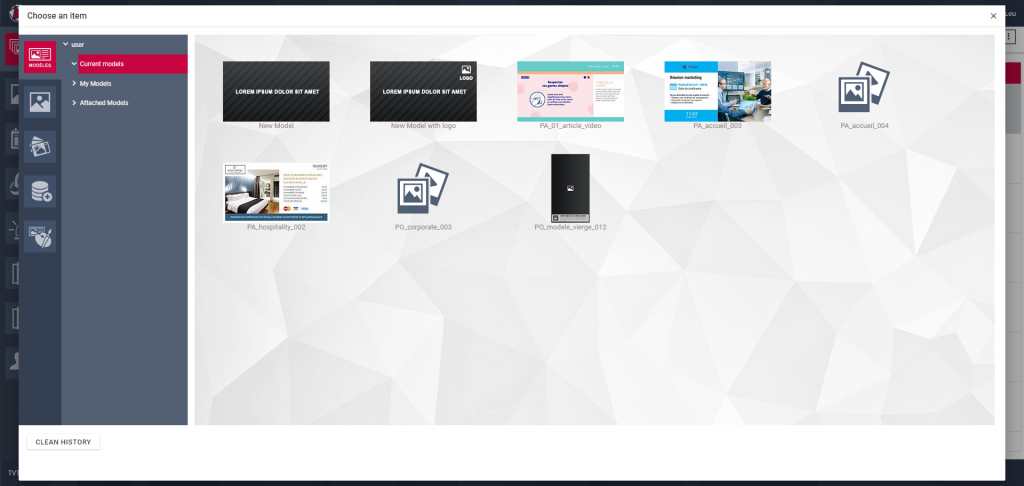
Templates
A template is a pre-defined visual design that contains design elements. These design elements can include layout effects, images, text, colors, shapes, and other graphic elements.”
In TVTools WebAccess, you have two types of templates.
- Attached templates, those created by us and made available to you to facilitate your communication.
- “My templates” those you have created and saved as basic communication templates.
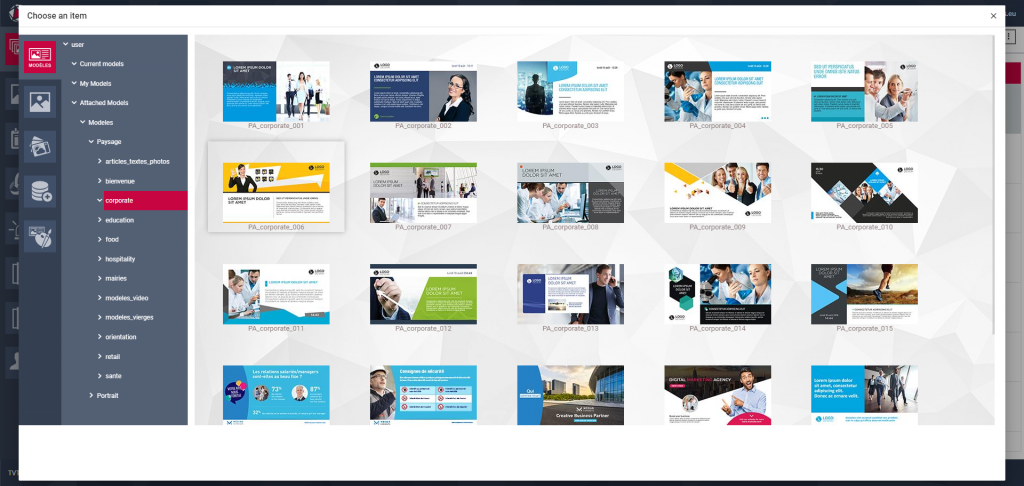
Templates are classified according to their theme (here, for example, specific “CORPORATE” templates).
To select a template and create a new message, click on the one of your choice.
Clicking on a template brings up its interface in the TVTools design editor. Inside you’ll find :
- Left: settings menu
- Right: display.
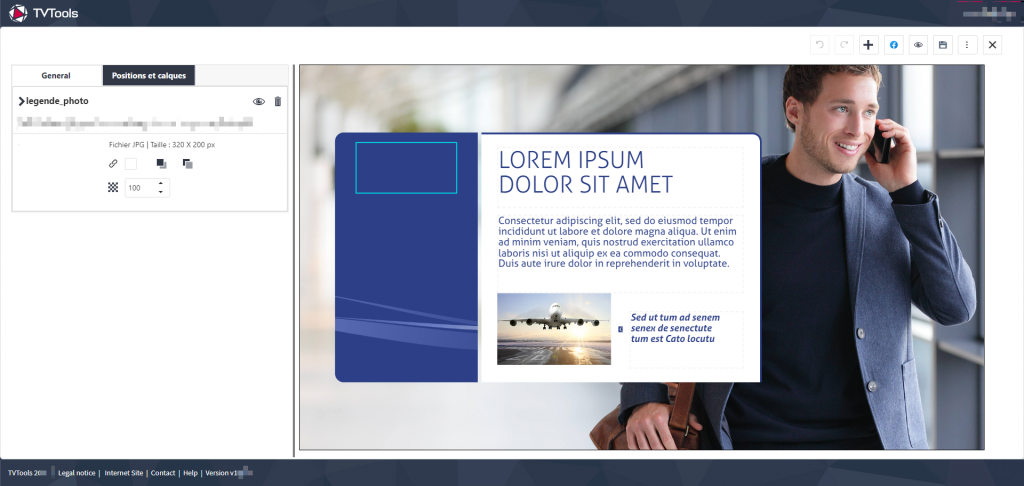
Good to know: all elements whose content can be modified are displayed with dotted lines surrounding the zone.
The Media Library
You can directly add an item from your media library (an image, a CANVA graphic, a PDF, etc.).
To learn more about the media library and media, click here. Here, we will only discuss it from the playlist perspective to access it.
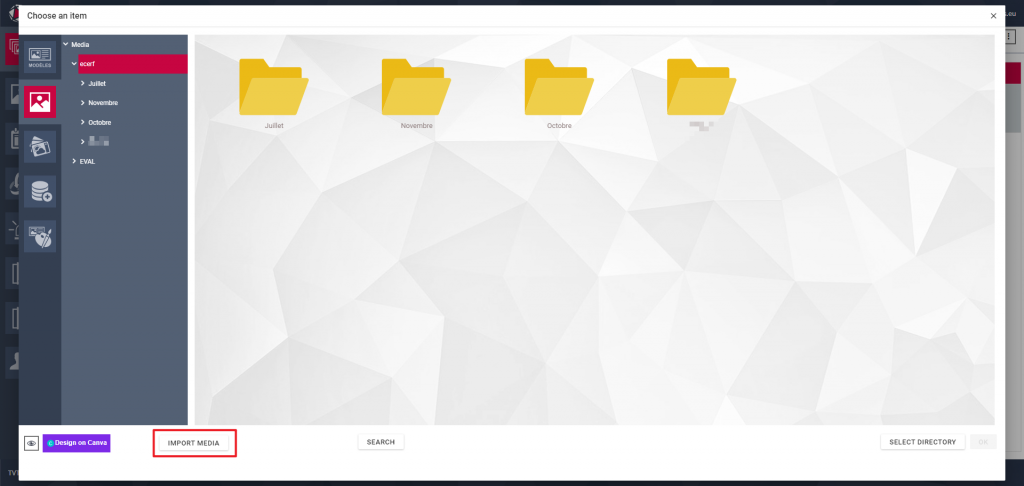
In this window, you will find various action buttons:

- Design on Canva: to connect to the Canva interface
- Import Media: to add media to your media library (in addition to your playlist)
- Search: to find media in your media library
- Select Folder: to add a whole set of media to your playlist, gathered in the same folder in your media library.
| Zoom in on this feature: add a media folder to your playlist Everything that makes up the folder is displayed as a slideshow. To modify the content of this slideshow, you can directly edit the folder in the media library. To modify broadcasting settings (media duration, random player, transition effect, etc.), click on the folder icon next to the ‘thumbnail’.  Two main benefits of this feature should be considered: Easily restrict user rights: One use case for this feature is to restrict user rights to this specific folder (available in the media library), preventing them from viewing or modifying other parts of the software. Vary and automate playlist content: Another use case for this feature is when you want, for example, to have a regular reminder of the weather or any other RSS feed available in WebAccess during your communication.” |
Good to know:
When you are in the playlist, you also have the option to add multiple media simultaneously by selecting them in a single operation. By doing so, each media will be broadcasted as a sequence in a slideshow.
Add a PDF
To add a PDF to your playlist, you need to have first uploaded it to your TVTools WebAccess media library.
To do this, either drag and drop it into your media library, or click on the “+” and then the media icon.
Or you can drop your PDF into your media library from your playlist, by clicking on the “+” in the media library tab and the “import media” button (or by dragging and dropping into this window).
Once you have added your PDF to your plyalist, you can double-click on the thumbnail to open the following window:
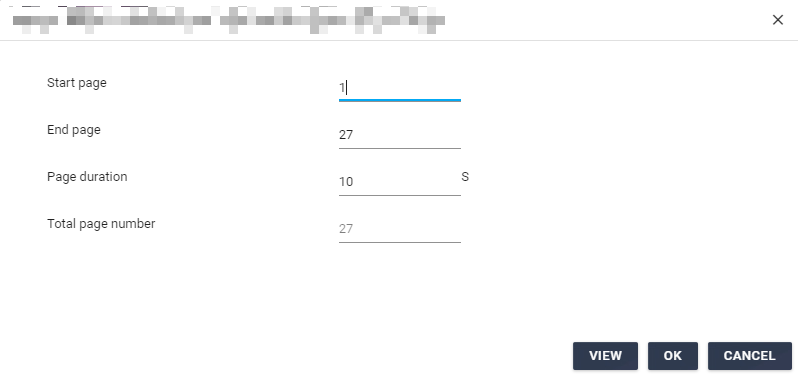
Start page: The page on which you wish to start distributing your PDF.
End page: The page on which you want the PDF to end.
Page duration: the time each page spends on screen (we’re talking about each page here, not a global duration).
Number of pages: This value is greyed out because it is simply an indication of the number of pages in your PDF.
VIEW: opens the PDF in a new tab for normal viewing
When you open a PDF’s time constraints (detailed later), you’ll see that you can’t select a diffusion time on the screen.
Quite simply because the only way to do this is via the window seen above and by selecting the page throughput time. To access this window again, simply click directly on the pictogram of your pdf.
Widget and Flux RSS
Widgets are special components, usually interactive, designed to enhance your communication. They offer additional functionalities, such as weather forecasts or horoscopes, to add value to your content. This complementary approach to RSS feeds makes it possible to integrate dynamic and specific elements, broadening the diversity and relevance of the information presented.
In other words, widgets let you display automatically updated information.
In TVTools, we propose:
- The messages
- Social networks
- Weather
- The citations
- The clock
- Sports results
To add them to your playlist, click on the “+” icon in your playlist:

Parameters submenu
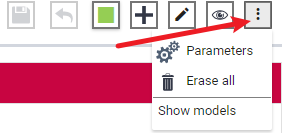
If you click on the 3 dots at the top right of a playlist, you can access these settings
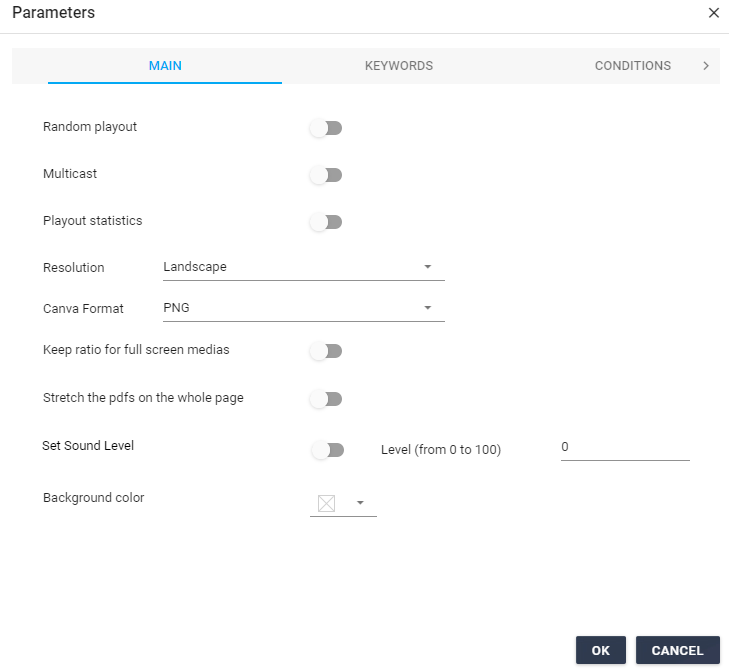
Shuffle: Media is played randomly, without the usual descending order.
Multicasting: Enable simulcasting (the ability to publish/delete multiple playlists with a single click)
Broadcast statistics: Generate broadcast statistics, applicable only to “simple” media and not to templates, widgets or other elements.
Resolution: Provides information on the resolution, which is then displayed at the top of the playlist.
Canva format: The editing format for media created in Canva.
Respect ratio for full-screen media: When enabled, the system will prefer to add black borders rather than stretch the image across the page, thus avoiding any distortion.
Stretch PDFs over the whole page: allow PDFs to be distorted by stretching them over the whole page; by default, they respect the ratio.
Background color: the default background color to be used if the choice is not in favor of black.
Broadcast Time Constraints
With TVTools WebAccess, you can schedule and modulate the broadcast of your content in two ways:
- Automatically by broadcaster through the grid level.
- In detail per media with broadcast constraints. Example use case: scheduling birthday communications, communications specific to certain times of the day, etc.”
Broadcast constraints can be accessed from the clock icon next to the thumbnail.

By default, the playlist adheres to the constraints set in the grid levels.
- You can set specific broadcast dates from the playlist.
- You can increase the frequency of media to be displayed 2x more, 4x more, etc.
By clicking on the broadcast constraints, a window opens with two tabs:
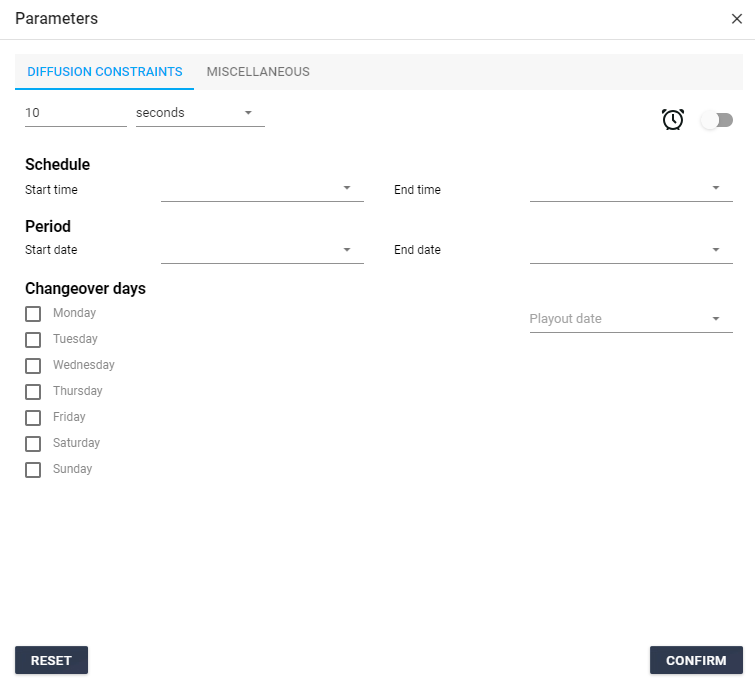
| Specificity for PDF: When opening the broadcast constraints for a PDF, you will notice that you cannot select a screen broadcast time.  Simply because the only way to do it is through the previously seen window and by selecting the passage time per page. To access this window again, you just need to click directly on the icon of your PDF.  |
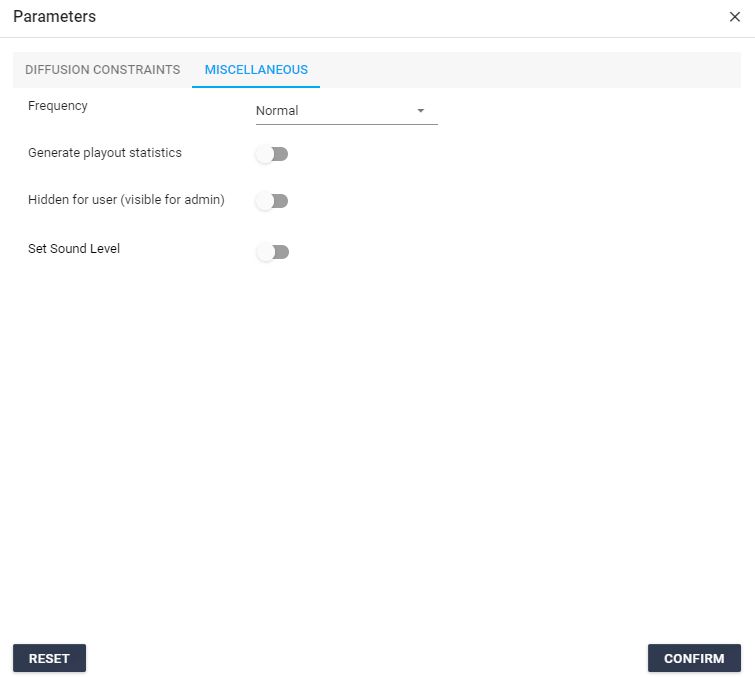
Frequency: you can select the desired number of broadcasts for your media, whether it’s twice as much, three times as much, and so on.
Create a broadcast statistic: display the media passage statistic, as many times as set. This statistic is available in Excel….
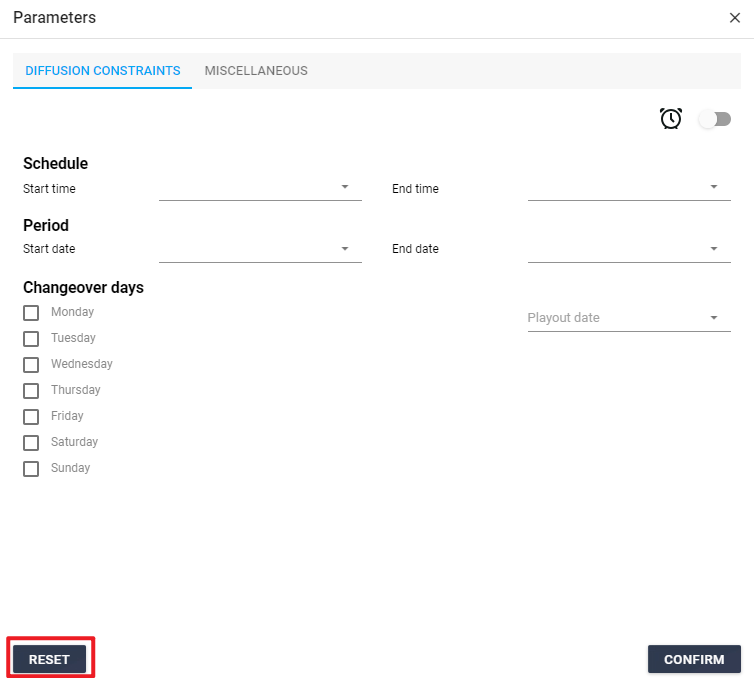
Reset broadcast constraints
To reset all broadcast constraints, click on the ‘reset’ button.
The media will be broadcast according to grid level rules.
The media library
The media library gathers all content such as images, videos, or PDFs available to you. You are free to organize these elements according to your preferences.

If you have permission, you can manage these contents by adding, moving, or deleting them.
Search for a media
By clicking on the magnifying glass on the left side of your interface, you access the following window:
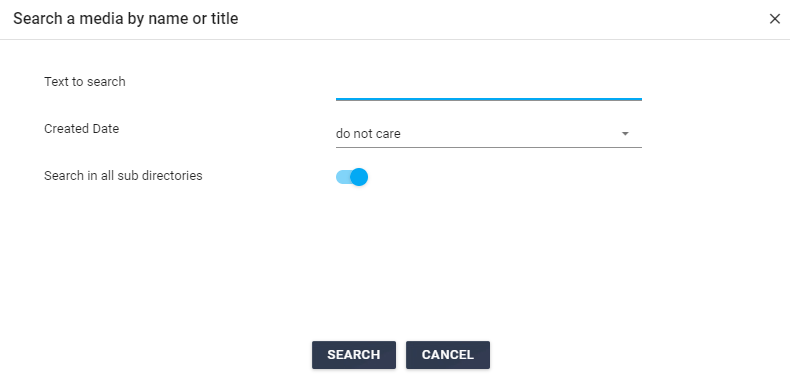
Enter the name or a part of the name of the media you’re looking for and click on ‘SEARCH.’ The list of results will be displayed.
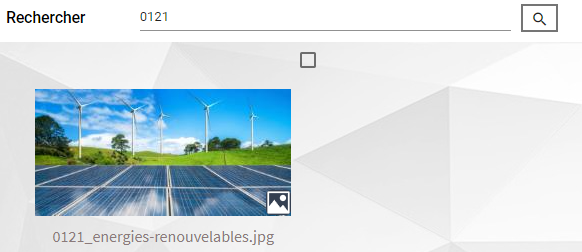
The checkboxes provide the option to perform bulk operations such as deletion or movement, for example.
However, it is important to note that you can also perform a drag-and-drop of media directly from your PC onto the web access, similar to moving a file on your computer.
Add a média


- Media: Adding a photo, video, or ‘simple’ media. To learn about all the media supported in TVTools WebAccess, click here.
- Canva: Access to a popular web interface in the field of communication.
- HTTPS: Integration of an HTTPS video stream (excluding YouTube videos).
- YouTube: Adding a YouTube video link.
- URL: Display of a web page.
- “Car”: Display of traffic in a predefined area.
Other
 Deletion of the selected media or medias.
 Moving the selected media or medias (a window will appear to choose the destination).
 Media settings. By pressing this button, a dropdown menu opens, offering you the option to “Display properties” of a media/folder or “Open location” (functionality currently in development).
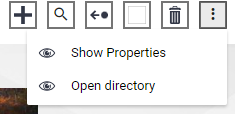
If you click on ‘Display Properties,’ a window opens on the right side of the screen.
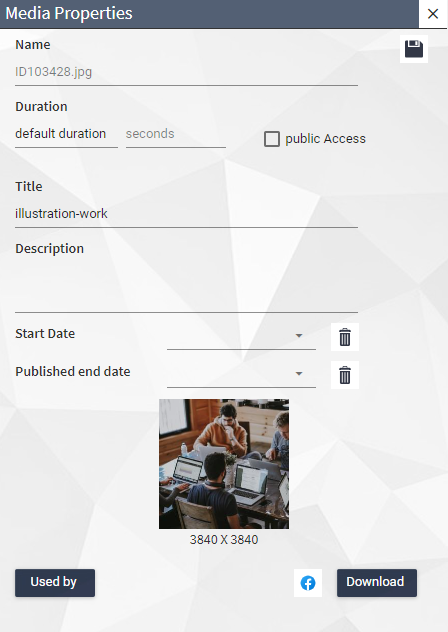
Name: The name of the folder/document cannot be changed.
Duration: The default duration of the media when added to a playlist.
Title: The display name of the folder/media; this can be changed.
Description, Start Date, End Date (only applicable to media) (this information is for reference purposes)
Start and End Date: Specify dates for the use of a media item.
Usage: Allows you to see if this media/folder is used in one or more playlists; if yes, the list.
Download: Allows you (if you have the rights) to download this item from the server to your computer.
In the properties, you can access the ‘administrator settings.’
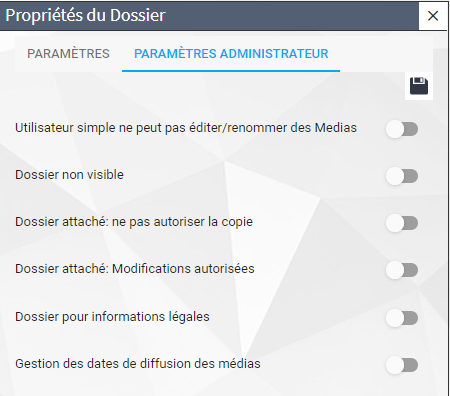
An ordinary user does not have the ability to edit or rename media. To define the status of a ‘Regular User,’ please refer to user administration.
Folder not visible: Make this folder invisible (but still visible to site administrators).
Options for attached folders: Copy prohibition and Options for attached folders: Allow modifications. To define what an ‘Attached Folder’ is, please refer to user administration.
Folder for legal information: Transform the folder into a ‘Legaldoc’ folder (with ‘Legaldoc’ being a system for displaying legal documents).
Media release date management: As the name suggests.
With a right-click on an image, the following menu appears:
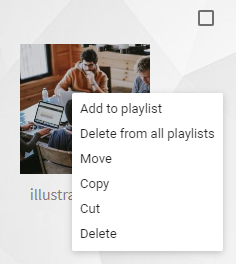
Add to a playlist: You also have the option to add one or more media items to one or more playlists from this location: select them, right-click, and choose ‘Add to a playlist.’ Then, select the desired playlist.
‘Remove from all playlists’: This option will remove the media from all playlists where it is present, whether it is currently playing or not.
‘Move’: Allows you to move the media within the hierarchy.
‘Copy,’ ‘paste,’ and ‘delete’: As the names suggest.
If you click on ‘add to playlist,’ the following pop-up appears, asking you to select one or more playlists for publication.
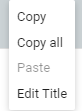
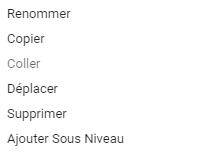
When you right-click on a media folder, the following submenu appears.

The labels will not be listed one by one as they are sufficiently explicit, but two important points deserve to be highlighted here:
- “Updating” allows you to initiate an update command to the server to address potential issues, such as missing media after import or move.
- The “Move” and “Paste” commands can take a considerable amount of time depending on the scope of the folder. Please do not leave the page thinking that the command did not work. This operation compels the server to traverse each playlist to check for the presence of the media you are trying to move; if found, it adjusts its path. This can make the process a bit lengthy. However, you can let the task proceed and open a new tab to continue working on other tasks within the same account.
Edit Schedules

By accessing this menu on the left, you will find yourself on a similar window.
Right-clicking on an existing level opens the menu to organize the levels:
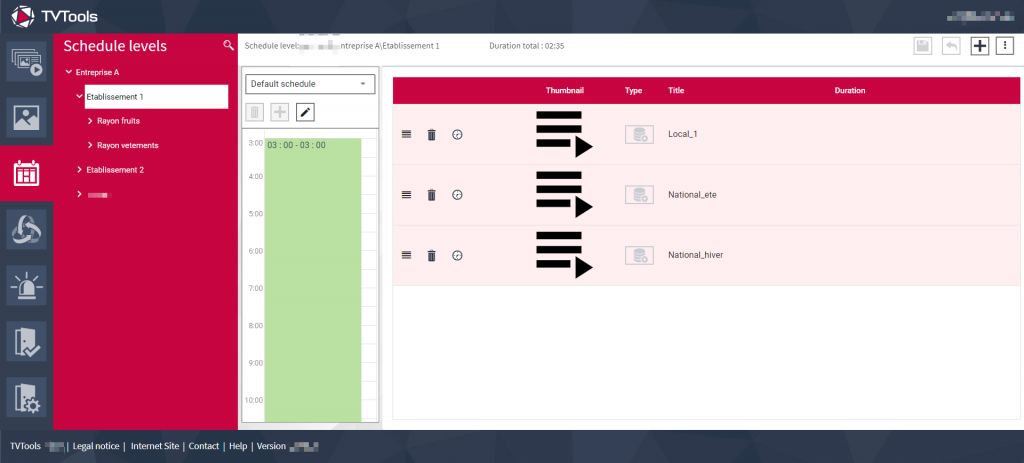
On the left, you see the hierarchy of your grid levels, containing your playlists and media. You can add media and playlists from this menu by clicking on the ‘+’ icon at the top right and the corresponding icons.

Medias

Database

Design

Commandes
We have already seen the media, playlists, and design in the previous menus.
The commands are functionalities such as multi-zone, turning on/off screens, etc.
By clicking on the three dots at the top right, you have the choice between:
- Settings
- “Clear All”
- “General Power On”
- “General Power Off”
- “Clear All” – as the name suggests, this function will clear everything in your current grid level (playlists, media, etc.).
Good to know: the ‘General Power On’ and ‘General Power Off’ functions allow for the manual instant standby control of all screens. (To automate this function, it is also done in the grid levels; documentation on this is forthcoming).
The ‘Settings’ menu opens the following menu:
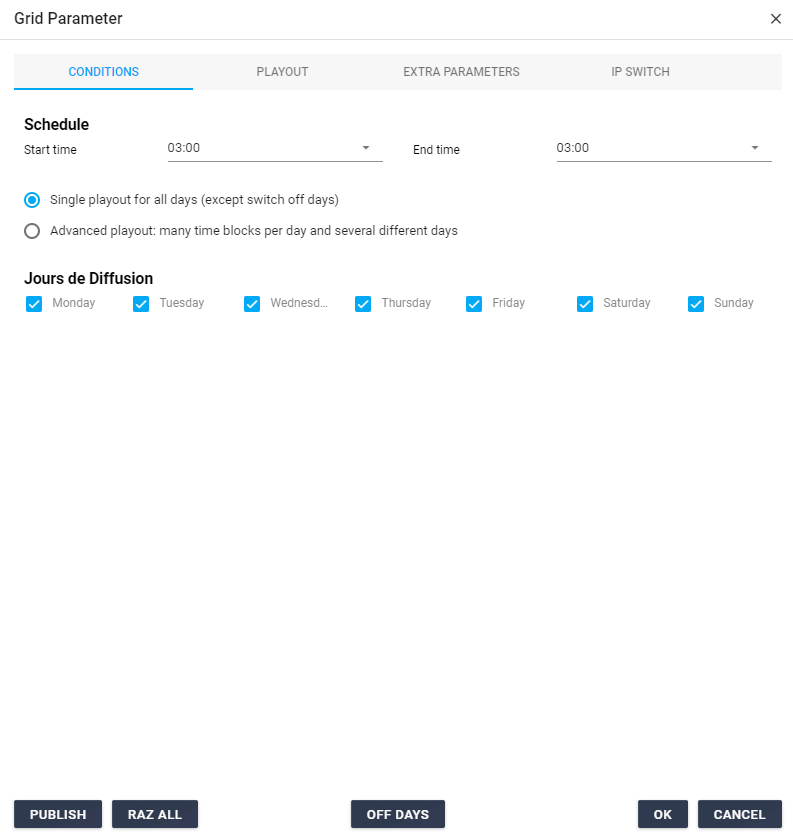
In this menu, you will find the ‘Schedules’ option, which allows you to set time constraints on your grid. Grid schedule constraints take precedence over playlist constraints.
Then, you have two radio buttons. The first one is the default, and the content will be broadcast according to the schedule defined previously and during the selected broadcast days.
The second radio button will add a second line to this interface: ‘Days with special programming.’
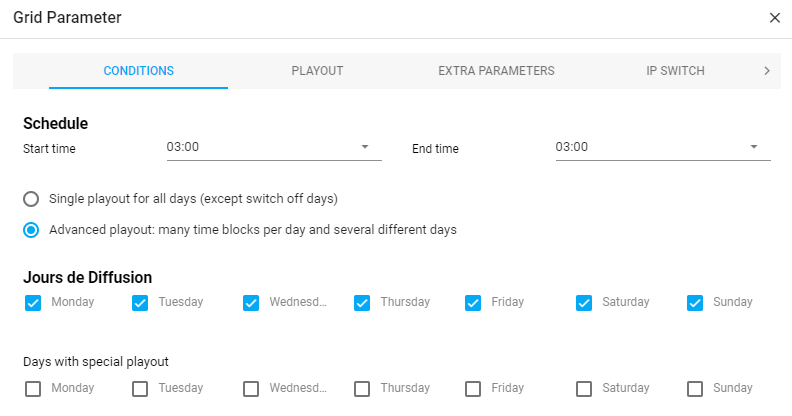
Here, you can set days that do not follow the usual schedule.

Will result in publishing the grid to the server.

Same effect as seen just before: this will clear all content from your grid level.

Allows you to specify exceptional closing days or days with specific hours.
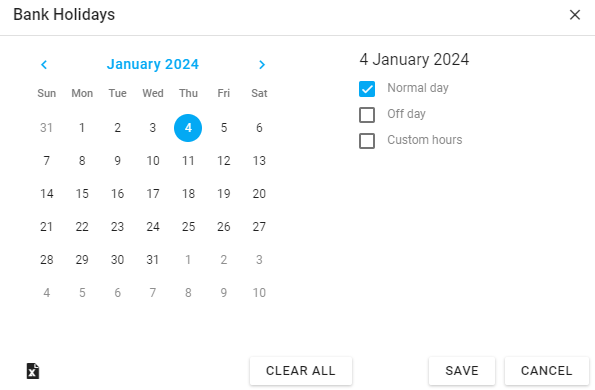
During ‘public holidays,’ the broadcasters subscribed to this grid level or any of its sub-levels will be in blackout mode (screens off) throughout the selected days.
During ‘days with special hours,’ broadcasters will start their broadcast at the defined opening time and stop at the defined closing time.
The ‘CONFIRM’ and ‘CANCEL’ buttons do not require additional explanations.
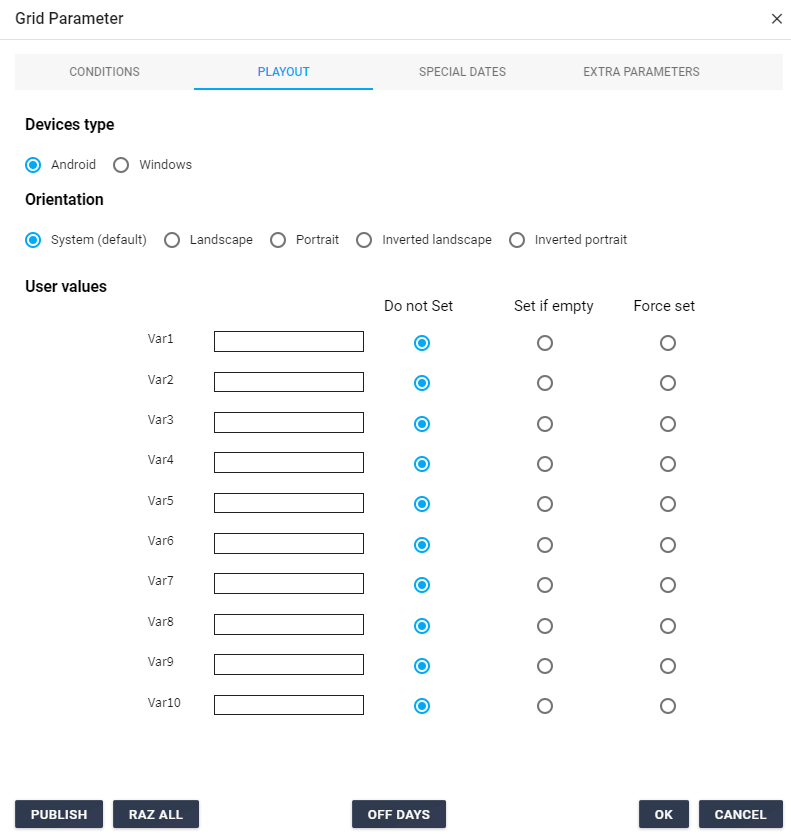
The ‘BROADCAST’ button allows you to change the orientation and type of broadcaster. Note: after changing the orientation, it is necessary to perform a ‘PUBLISH’ action for the modifications to take effect.
After confirming the advanced scheduling in the previous ‘Conditions’ tab and closing this window, you will see that your grid level has been modified. A new side banner is now visible:
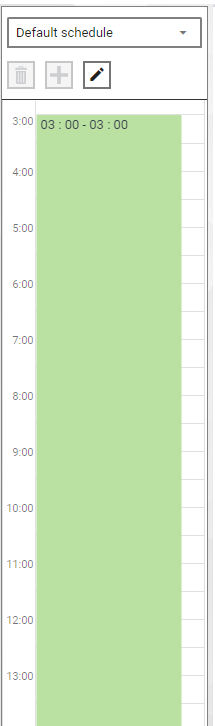
At the top of this menu, you will find the selection of your grid or grids. This menu allows you to adjust your grids based on the days you have chosen.

 Delete a grid
 Add a grid
 Edit a grid
Grids can be added, stretched, or reduced to accommodate different types of content. In the present example, three distinct grids are defined: one from 8 AM to 10 AM, one from 10 AM to 2:30 PM, and one from 2:30 PM to 7 PM.
Moreover, these grids can be adjusted directly with the mouse. By approaching the cursor to an edge, it will turn into an arrow, which you can click and hold to stretch or reduce the grid.
Devices Control

In TVTools WebAccess, the monitoring section serves as the dedicated menu for the administration of your hardware equipment. It’s the place where you can execute commands, perform restarts, etc.
Broadcaster management
If you have the necessary permissions, access to broadcaster management is available through the monitoring module of TVTools WebAccess. This provides real-time control over your players and screens.
It is crucial to note that this functionality always respects user rights, meaning that only authorized users will appear in the list below.
Pictogram
At the top right, there is a number indicating the total count of available broadcasters.
- Export an Excel file
- Filter the broadcasters according to activity
- Green: Active broadcaster
- Orange: Recently inactive broadcaster – in case of internet disruption, the status may temporarily switch to yellow, and it will return to green as soon as the connection is restored. If the yellow status persists, it will eventually transition to red.
- Red: Inactive broadcaster – either turned off, malfunctioning, or the internet connection to the server is interrupted. If needed, refer to the provided note for assistance in resolving this situation.
- Delete a broadcaster. (Note: an active broadcaster will reappear after deletion because the recording of broadcasters in the database is automatic)
- Select all broadcasters
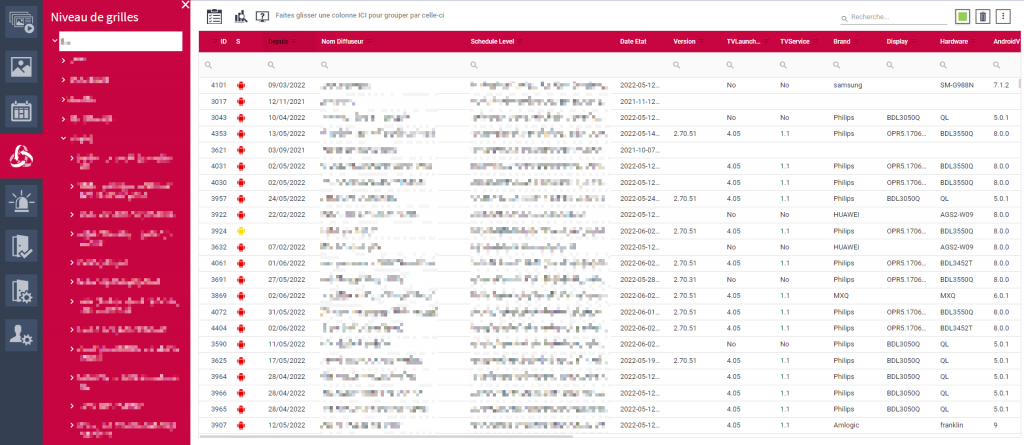
In terms of columns, you can search for a player by keyword in the list of broadcasters.
The magnifying glass located under each column allows filtering of elements
- Name: Broadcaster’s name
- Thumbnail: Broadcaster’s location or thumbnail of the current broadcast if monitoring is enabled
- Version: Android software version (APK)
- Grid Level: Location of the broadcast grid associated with the broadcaster
- The other information is mainly useful for customer support.
To select a row, simply click on it, and it will then appear in gray.
By now right-clicking, a menu appears, allowing for a few actions:
- Reboot broadcaster: allows restarting the broadcaster in case of instability, for example.
- Full reset of the broadcaster: reserved for after-sales service. This allows a complete cleaning of the broadcaster. It will then reload with the information from its grid level.
- Update Android version: allows updating the APK.
- Modify broadcaster name: changes the broadcaster’s name.
- Modify grid level: allows placing the broadcaster on another broadcast grid.
- Who am I: reserved for after-sales service.
- Start monitoring: enables the display of a thumbnail to monitor in real-time if the broadcaster is presenting its information correctly. It is worth noting that videos currently in playback are represented in black, and the tracking function automatically deactivates after 15 minutes, showing the last buffered image.”
Park statistics
Following the sequence of icons at the top of your monitoring screen, you will then find the icon dedicated to statistics, namely:

This screen provides a comprehensive overview of your park, highlighting two central pieces of data in the form of pie charts: the state of broadcasters and their versions. You can organize your sub-levels similarly by simply selecting a level from the list on the left.
The list below the pie charts is the exhaustive list of all your broadcasters currently disconnected from the server.
By clicking on the small icon located at the top right of this list, you have the option to display a more detailed list of the stops and restarts of your various broadcasters, sorted by date and time, from the most recent to the oldest.
Finally, in the order of these icons, you can: refresh, export as an Excel file, or search by keyword in this list.
Comprehensive Park Information
The last icon among the sub-menus of broadcaster management provides access to a list similar to the broadcaster management but with much more detailed information, such as ID, MAC address, WebSocket status, etc.
It is recommended to stick to simple broadcaster management if you do not have technical skills.

Emergency banners and messages
In this space, the user can control broadcast messages. Unlike messages from RSS feeds, these messages overlay your current communication.
Depending on the permissions, the user can create, delete, broadcast, stop, assign to levels and players, or configure these messages.
To view the emergency messages tab and access its content, a user must be granted the following permissions: ‘Multicast Management Permission’ and ‘Emergency Message Management’ (See Users section > User Administration).
Note: Only one emergency message can be active at a time, whether it is in banner or full-screen mode.
Creating an urgent message
Select the corresponding tab.
Click on the to add a new item.
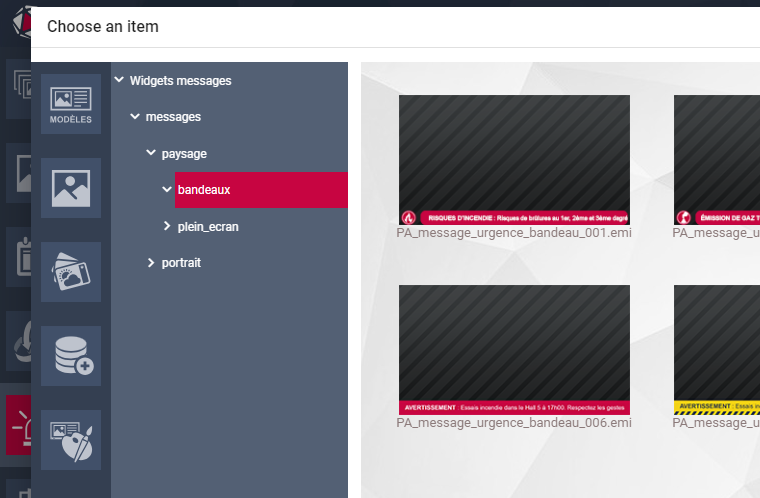
In the window that appears, choose the orientation of your screen (landscape or portrait), then the format of the message (banner or full screen).
Select the template of your choice.
Complete the following information:
- Post title
- Description of the message
- Background image (optional)
Post title
Description of the message
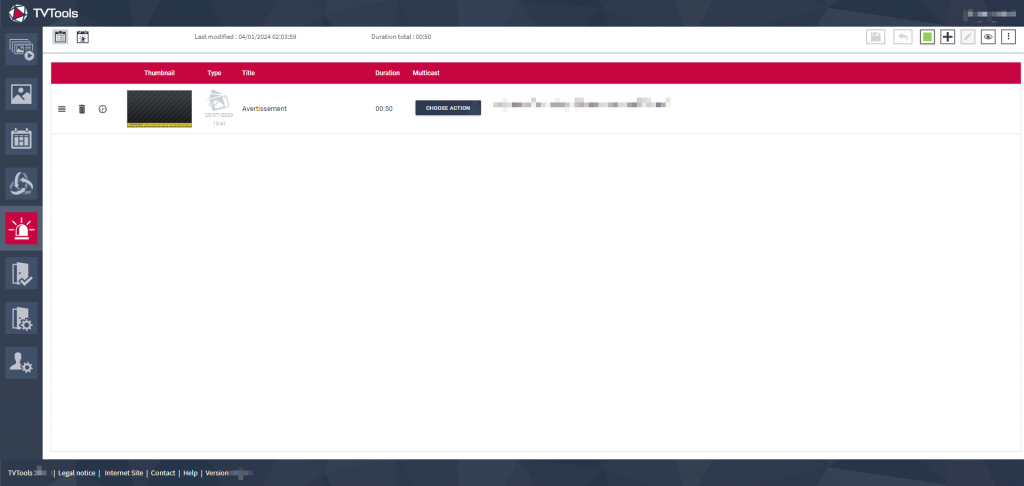
The new urgent item now appears in the list of urgent messages
By accessing the ‘Choose Action’ submenu and selecting the ‘Select’ option, you can navigate to ‘Grid Level’ to choose the grids/players on which the message will be broadcast.
After completing this step, you have the option to click on ‘Display’ to broadcast the banner on the selected screens and ‘Clear’ to stop it (remove it from the screens).
In the ‘Settings’ tab, you can define emergency messages available in the ‘simplified view’ and configure them accordingly.
You also have the option to make it editable from a simplified menu (designed for users with restricted rights) or lock it.
To access the simplified view, simply click on the icon located at the top of the screen.
On this screen, you will see the messages available in simplified view, which can be edited or not, and displayed/cleared by individuals with the appropriate permissions.
Roombooking
With TVTools, you can easily manage your room reservation system, in addition to being able to handle appointment scheduling from a calendar.

Room management

Room administration
Administration
How it Works
Subject to having administrative rights, you can access the administration of your room reservation system in this tab.
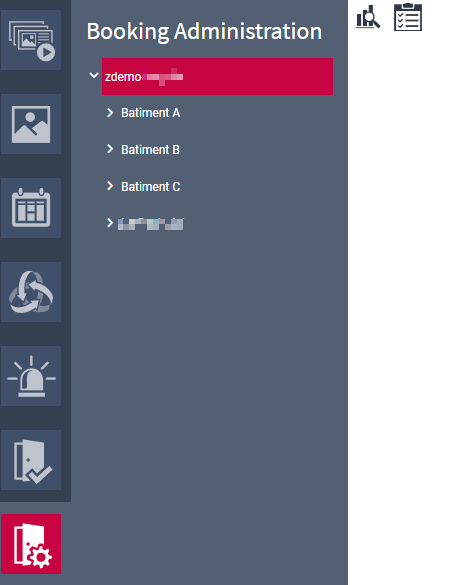
By default, you access the root of your solution, where you can see a list of your different sites (or buildings). By default, one root and at least one building are always present. At the top of this screen, you will notice two icons.
The state of the solution
Solution settings
By selecting a building, you will see a summary along with all the rooms linked to that building.
- S:
- L: Available
- M:
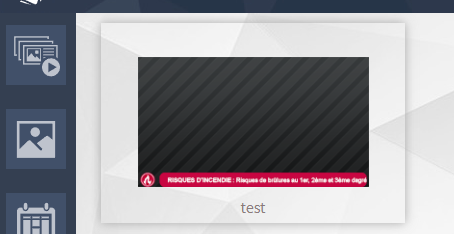
- The eye icon allows you to view the details of a room.
By selecting a room, you can view its information. As an administrator, you have the option to add new rooms or modify existing ones.
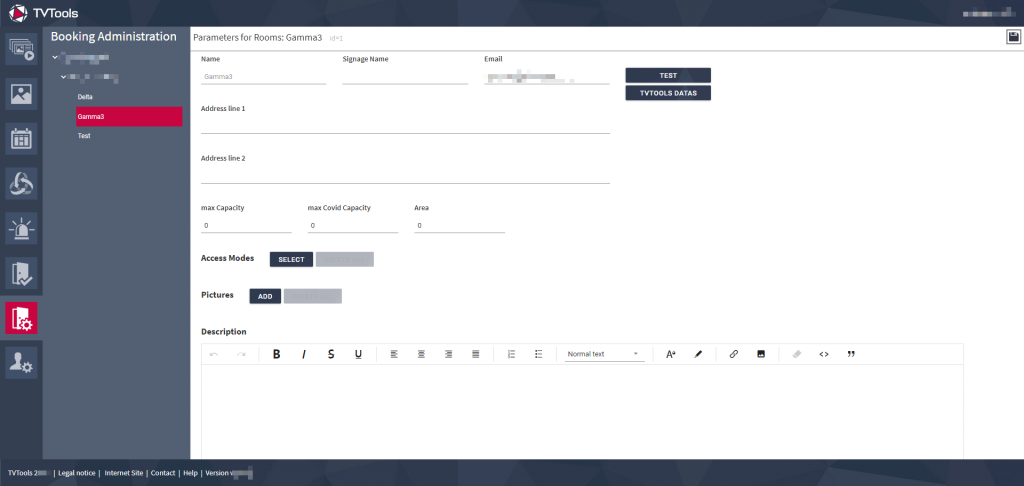
Don’t forget to save at the top right after any changes.
Solution settings
This section allows you to set up your booking solution technically. You simply need to choose the type of your solution and enter the required information.
You must then save at the top right and click on ‘GET TOKEN…’ if this button is present.
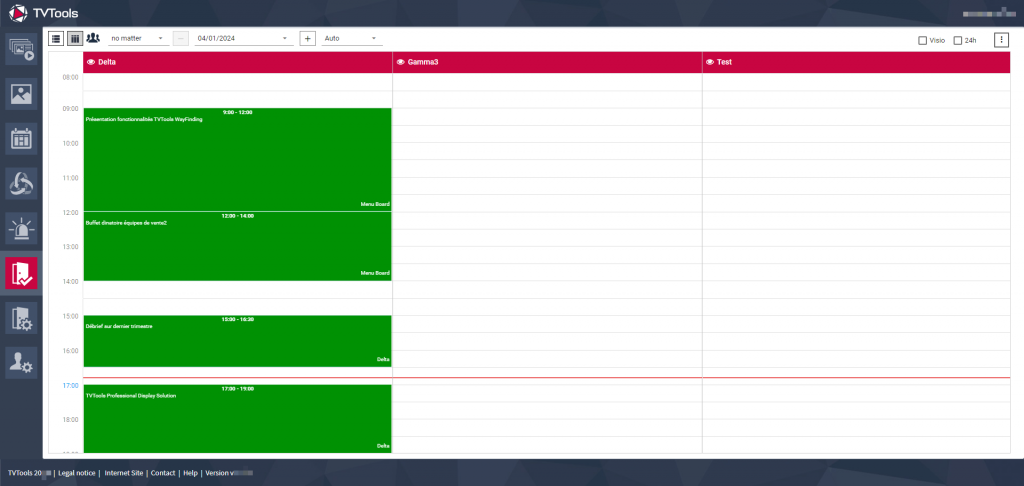
How to use
For usage, simply click on an empty space or on an existing meeting.
New meeting

In case of a click on an empty space in the schedule, the following window will appear. You will be prompted to enter the following information:
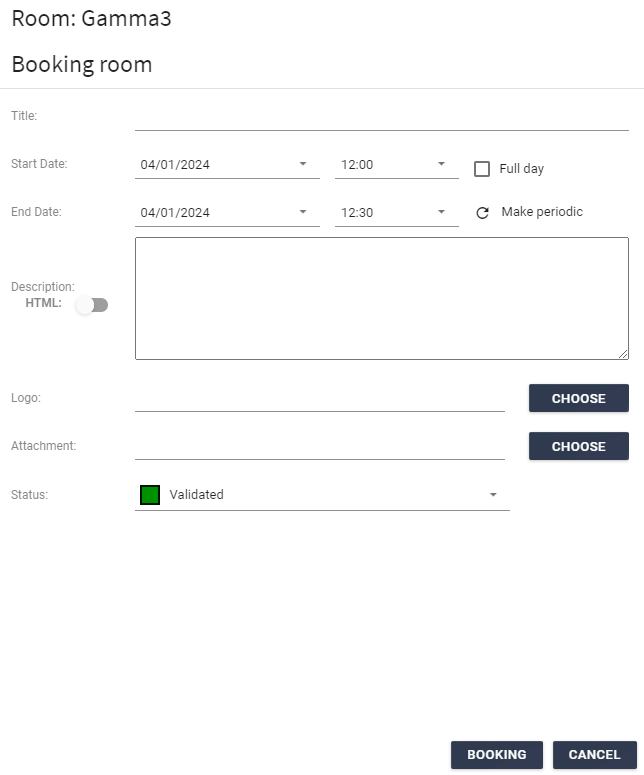
- “Title (mandatory)
- Start date and end date (mandatory)
- Description (optional)
- Logo (optional)
- Attached file (optional)
- Status (mandatory)
You can also directly check “entire day” or enter a periodic meeting
Edit a meeting
By selecting an existing meeting, you access the editing mode. The interface will be similar to the one previously presented, allowing you to make adjustments.
Good to know: If the event is recurring, a window will open asking if you want to modify only this event or the entire series.
Interface and features
At the top of this window, you will find the building selection, sorting of rooms based on capacity, and the selection of the current display date.

At the top right, you can also choose to display only video-enabled rooms and switch the schedule to a 24-hour format.
By clicking on the menu, you can export the list of reservations in Excel format.
Finally, you can click on the small eye to view the details of a room.
If nothing happens, it means you are missing information about this room. Go back to the administration and select at least one ‘included equipment.’
Users
Click here to find out more